A big scale adventure on a slightly small scale
Compared to the scale of some long distance routes such as Route 66, the Trans-Siberia or Cape Town to Cairo, the North Coast 500 is a more sedate challenge which can be completed within a week. It's arguably no less breathtaking.
The route was developed locally to help promote the far northern extremes of
Scotland to the many tourists who may stick to the confines of
Edinburgh or
Skye. It was a huge success, perhaps working a little too well as complaints began to surface regarding facilities to handle the increase in visitors.
This book was an opportunity to assist the traveller to explore the route sustainably.
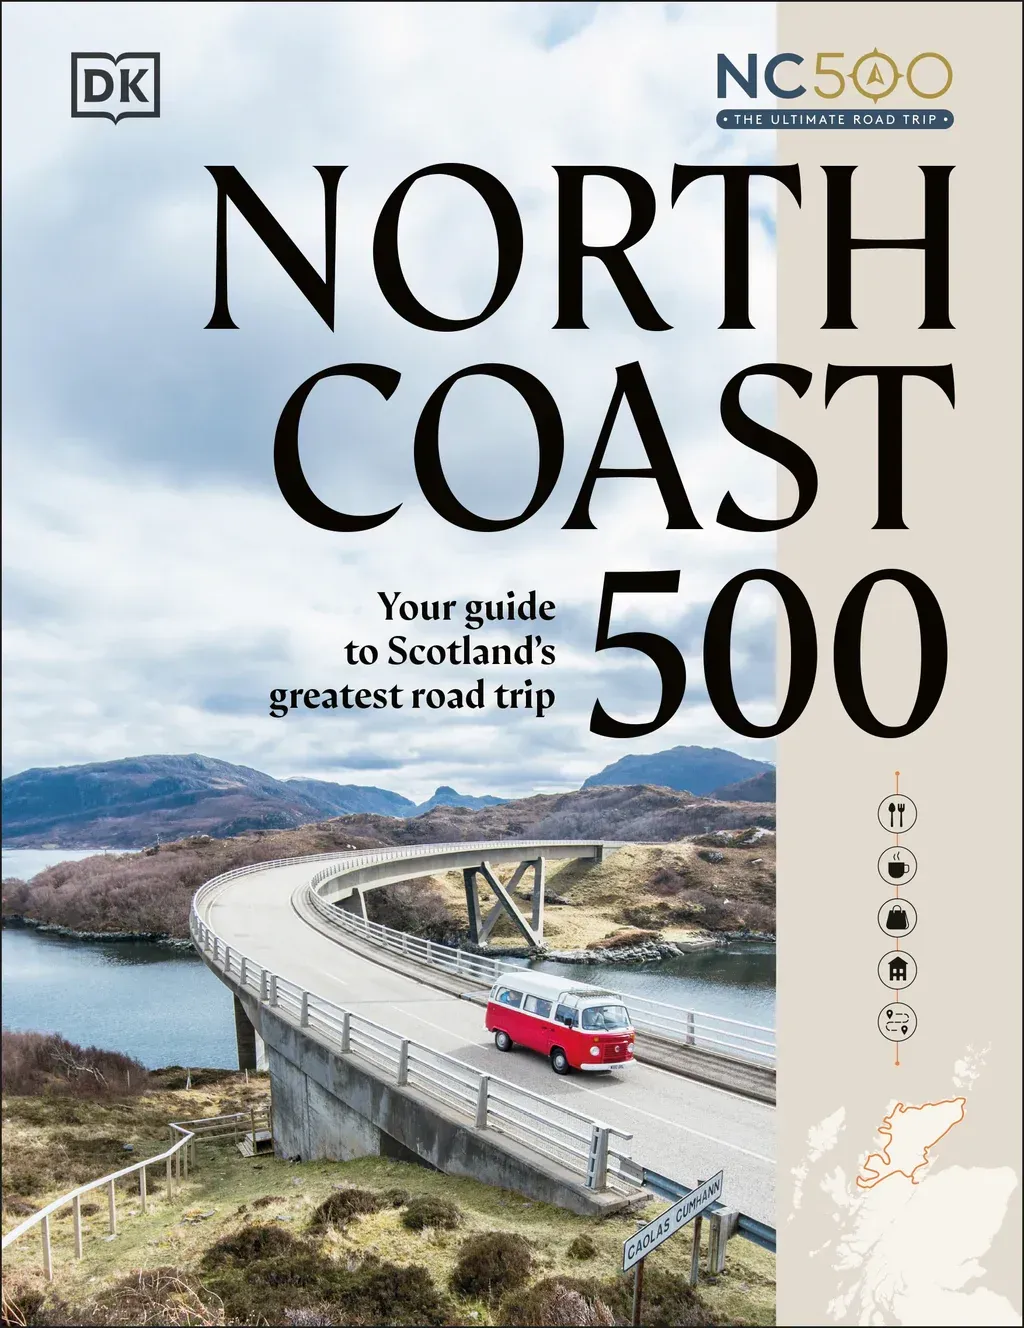
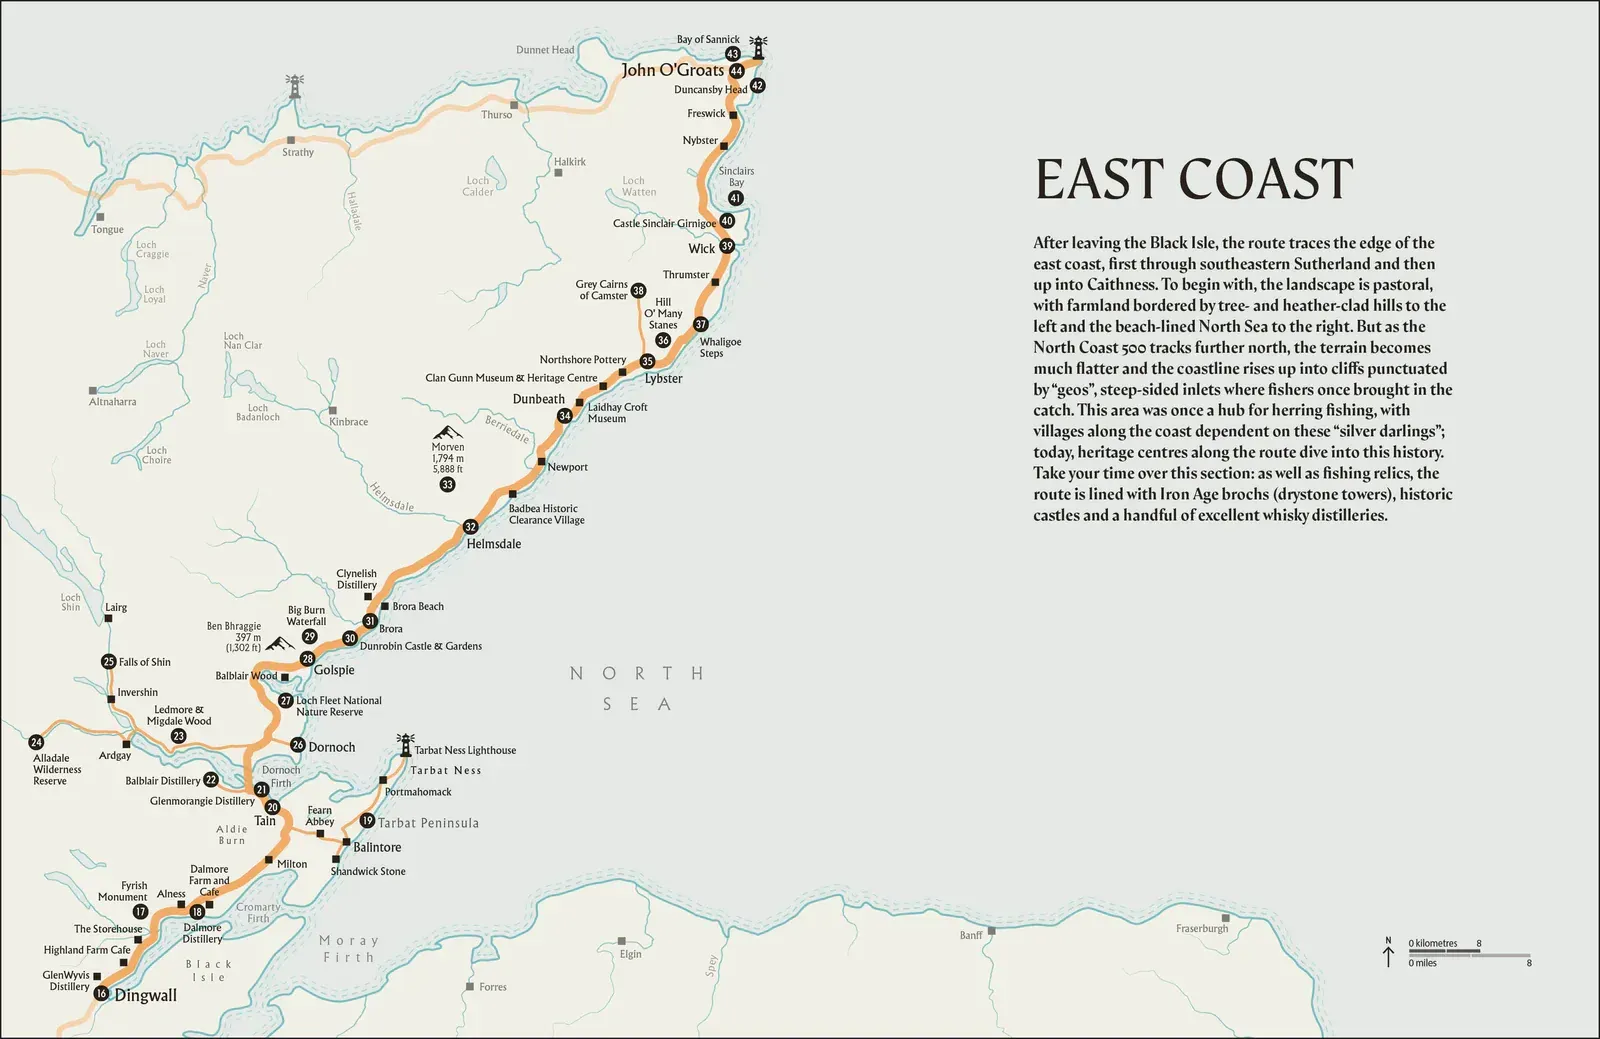
Building the Maps
The smallish size of this book meant a narrower canvas to work with, but, as with a number of the titles from DK, the idea was not to be a complete step-by-step guide showing every turn, junction and petrol station, but to be an inspirational celebration of the route. This allowed some freedom to play with the map's appearance to echo the route and book’s individualism, while knowing it was not specifically produced for navigation.
Approaching the title alongside the design team, the early discussions were around earthy, natural landscapes and curved, organic lines. This immediately turned my mind to natural ways to show the route on a map. The first step was to build a map moodboard to explain to the team where I was trying to position the maps.
I was pulling together all manner of textures and imagery. I loved the idea of a carved, organic and natural representation of the route and had begun to look at ways to produce this in the book within a digital environment and on a sensible (low) budget.
The carto moodboard had a number of other maps whose style would match the board created by the design team. These were initial jumping-off points before any research work started. I also included existing mapping from other publishers’ books covering the routes, so we could assess what worked and what we felt we didn’t need to replicate.
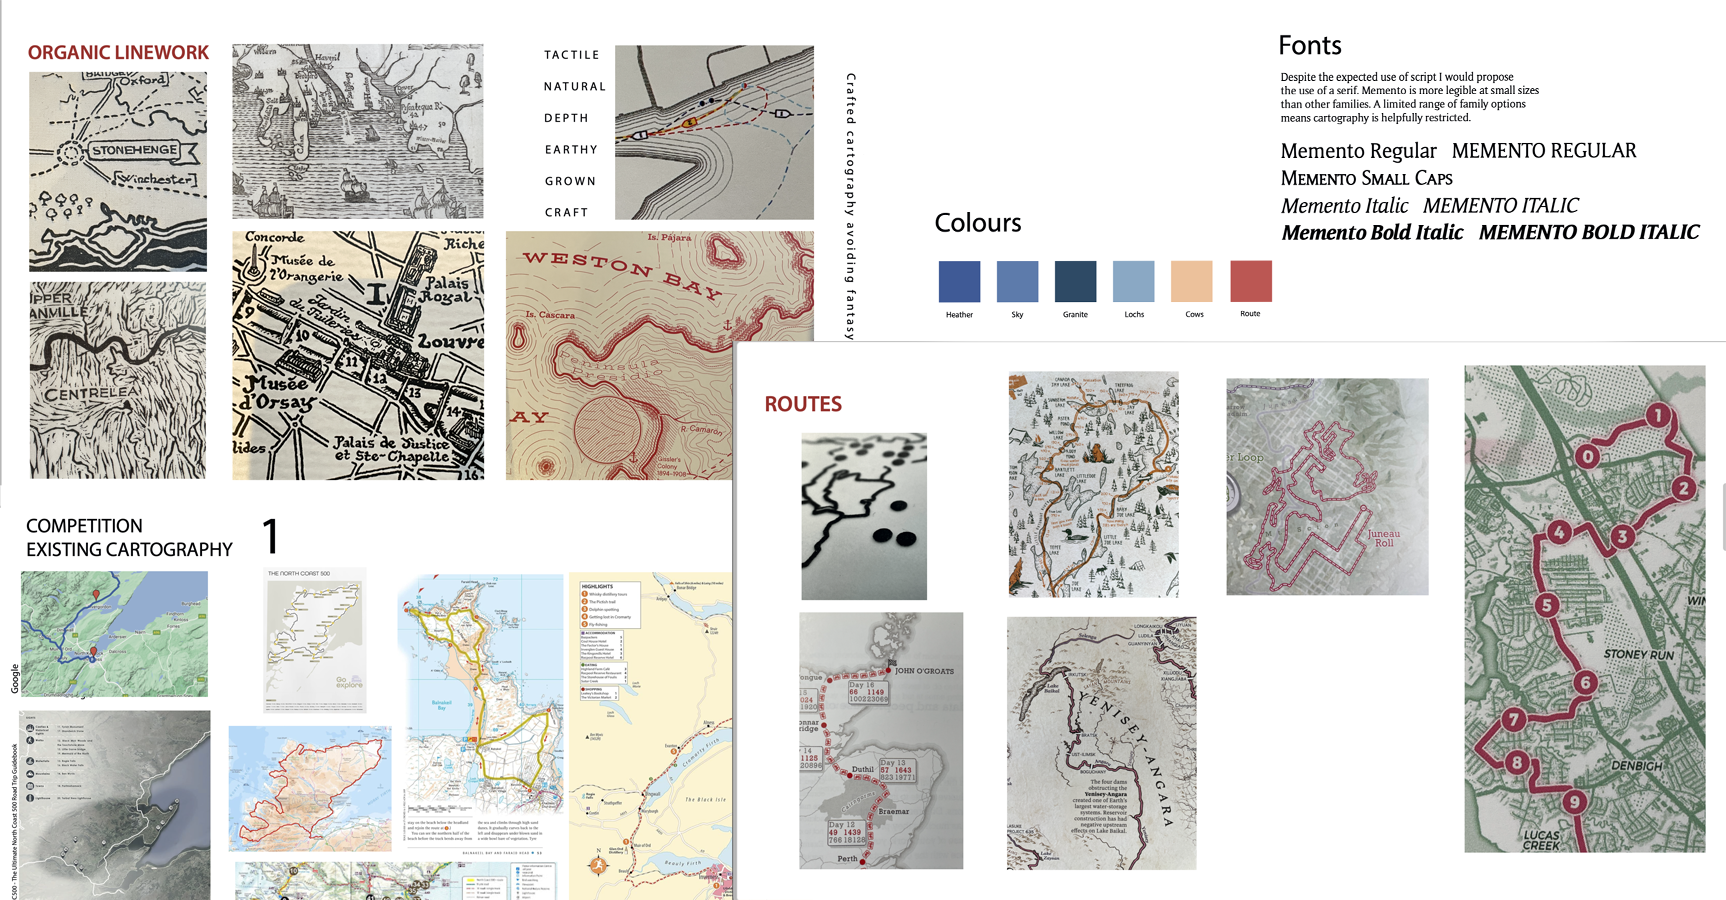
Above: Elements of the 6 page map moodboard
I initially researched the possibility of using a linocut or woodcut technique to show the route.
This is a costly but beautiful style, which I knew might limit the ability to alter any map elements as the project continued. The book needed to be updated and distributed to other co-publishers, which resulted in restrictions on the methods of production. To address this, I began experimenting with digital methods to recreate the style. All text elements had to be in black ink, and all linework (roads, rivers, etc.) needed to be editable to enable adaptation of existing elements when updates or reuse in other books was needed.
The cost and time needed for this style were not going to work. It was not possible, and the digital mimicry of the style was not authentic enough to move forward. Such a shame, as once the artwork was produced, there was an option to use it in further products such as promotional canvas prints or tote bags — great to bundle with the books.
I took map data and mocked up a few initial designs to begin the conversation with the other project stakeholders. Even if there was no intention of using these styles, it was a good method to see what the senior team were really wanting. They are more direct if they see something totally distant from their initial thoughts, rather than something close, but not quite.
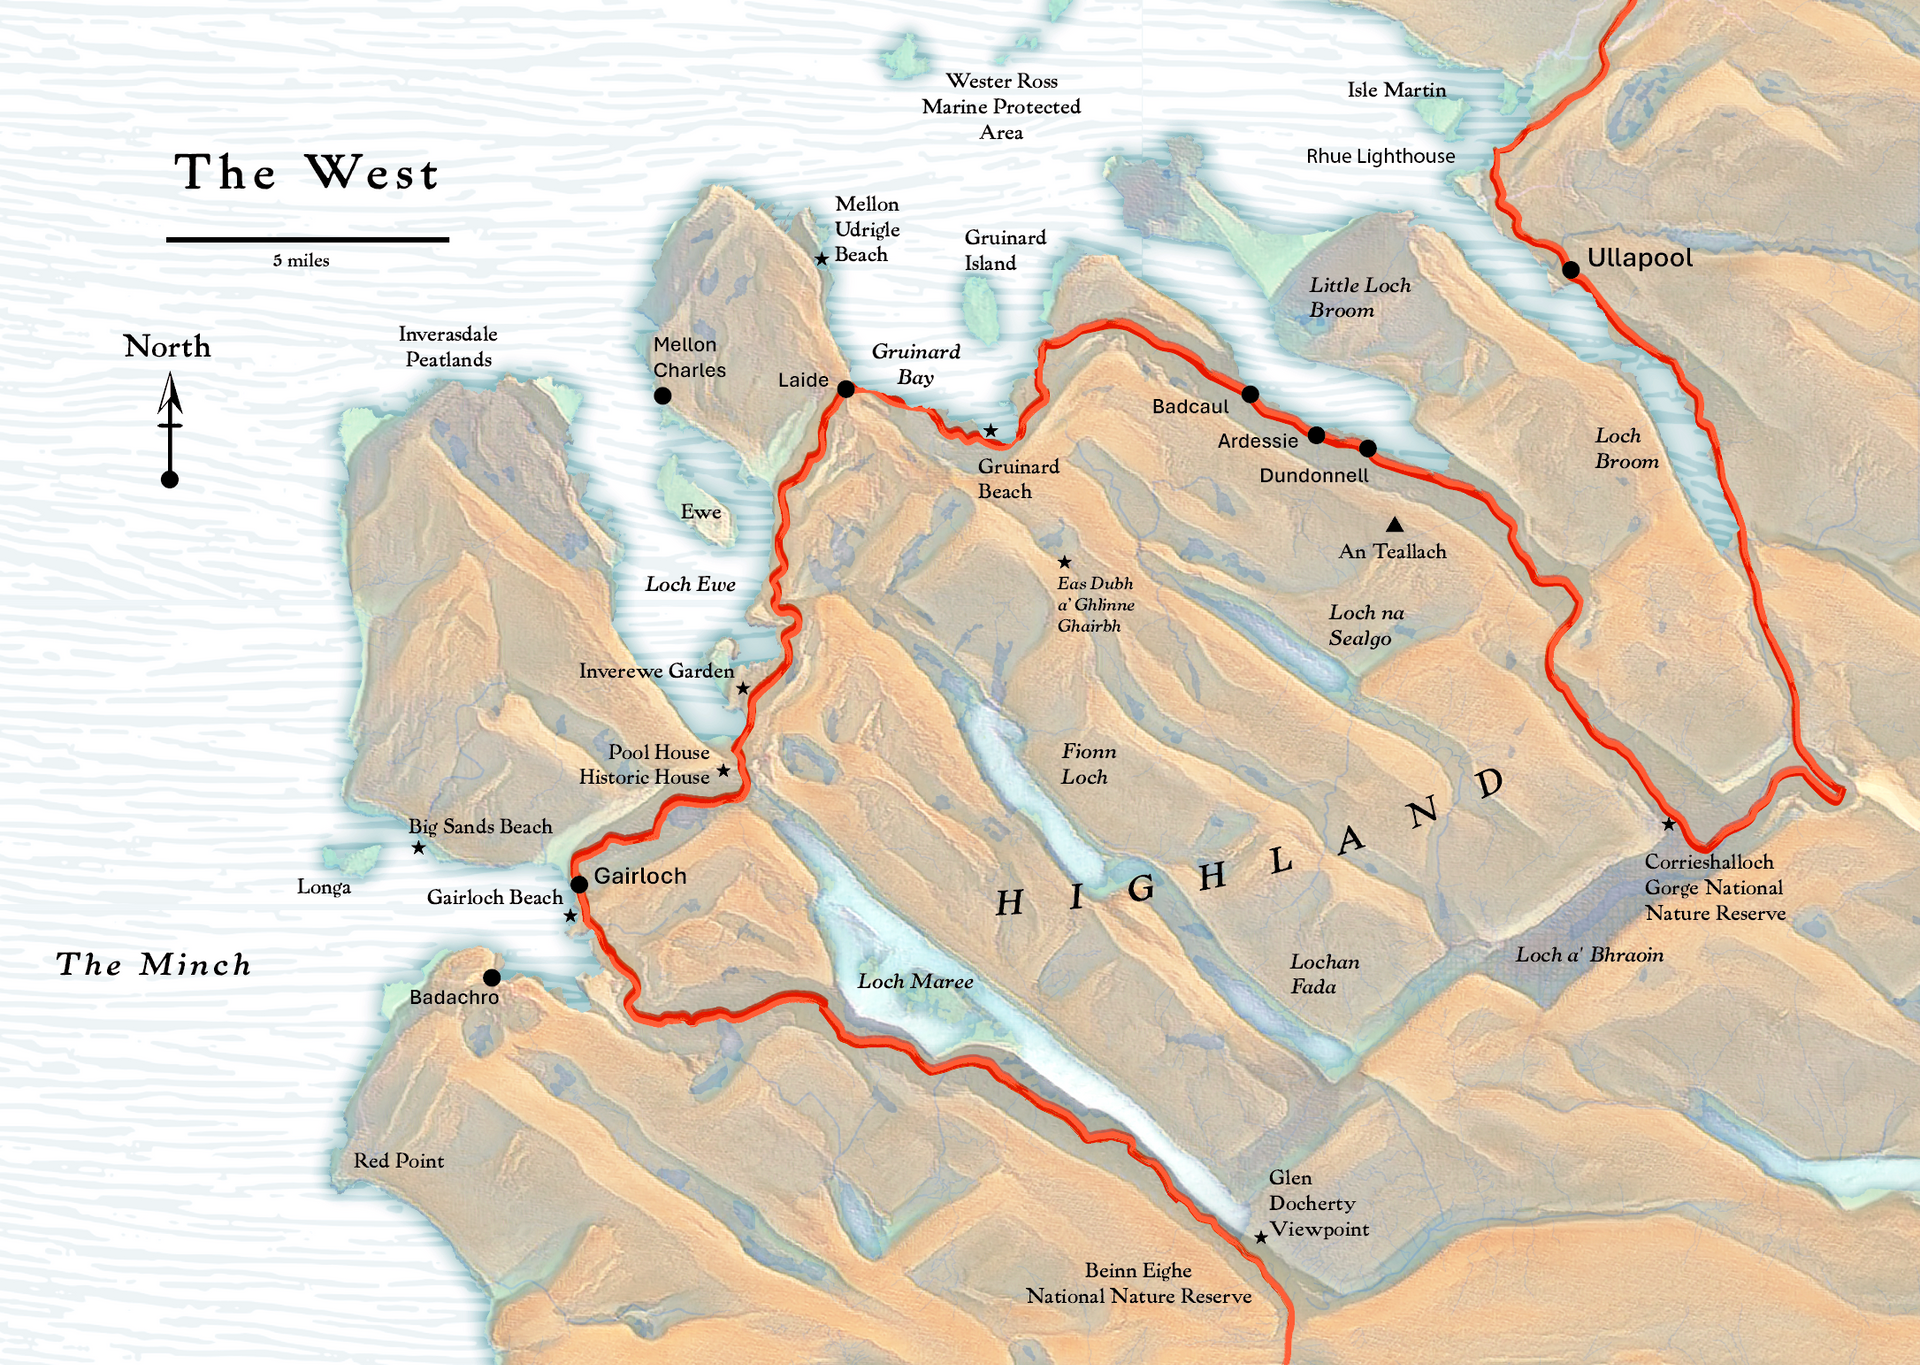
Above: Initial brainstorm ideas, a couple using Photoshop neural filters to mimic terrain.
These were launch points for discussion and the level of detail was already too strong
As expected (and hoped), the design team agreed to keep the maps as simple as possible to allow the commissioned photography to really sing, I began forming the look and feel for a digital map that could appear more natural.
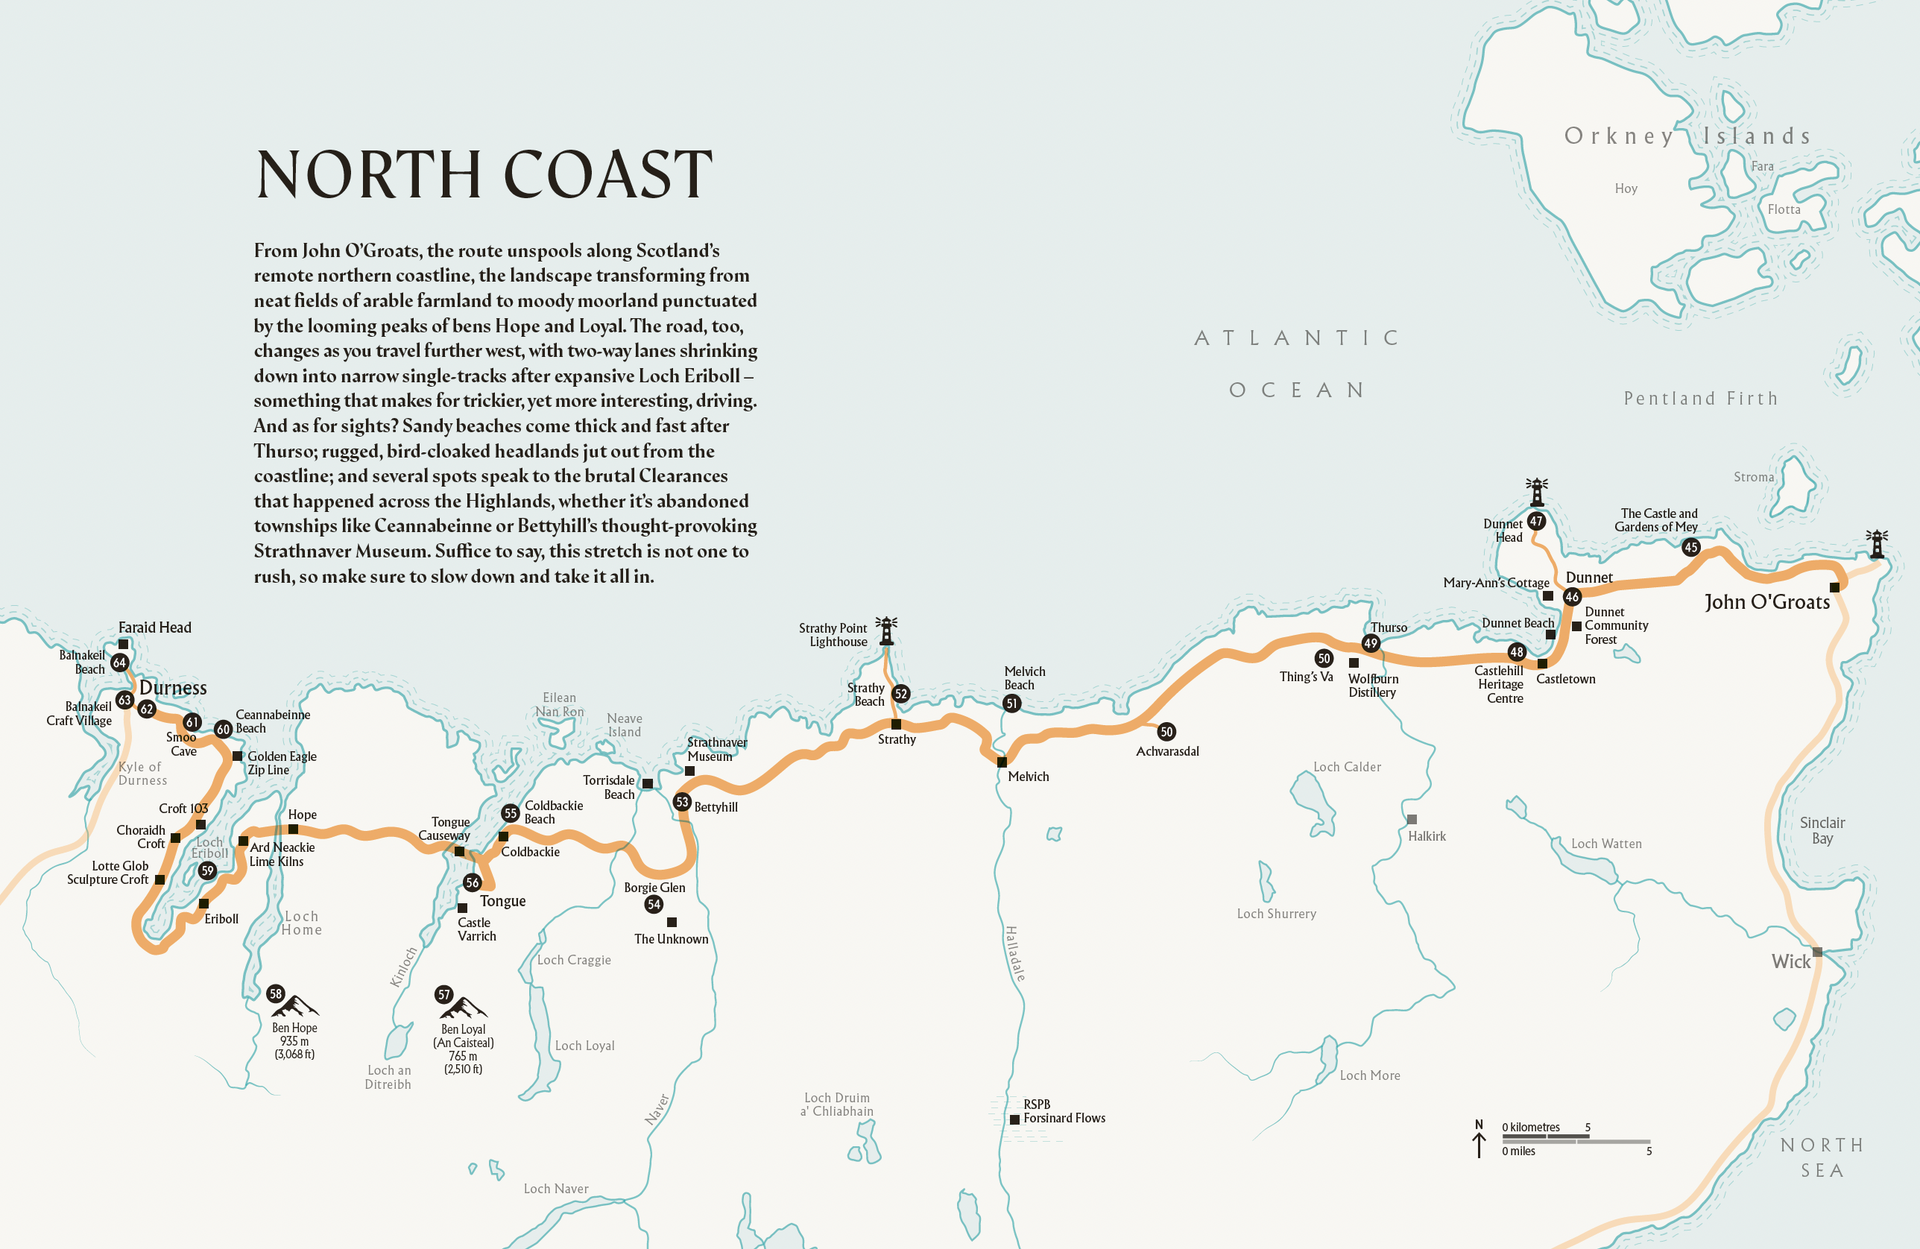
Stripping back everything that was not needed or helpful resulted in a single line to progress the route’s journey around the coast. We had a number of diversions to explore which needed to be included, but not be seen as part of the main route. This was simply achieved by halving the width of the main route line.
Each section of the book covered a separate part of the route, and to show the flow of the route I knocked back the route line to 50% transparency where the line was beyond the extents of the section. This allowed the route to be seen across the map. We pulled up the start and stop points in size to make them instantly recognisable on the page.
Designing Styles
Red Lne
I loved the slightly off-red, faded lines seen in a number of the moodboard examples, which I wanted to echo. This would also work with the decision to use only three colours on the map: text black, the blue water and the route colour. The page itself would be a browny colour throughout the book.
I had played with including arrows along the route, but they were not needed. The numbered dots across the map provided navigation in themselves, and the arrows were just more noise along the route.
Dot to Dot
Towns were originally shown in a traditional circular ‘town spot’, but when the numbered symbols I was using to link to the text were included, the map became too crowded. Sights that were not towns were shown with small square blocks, which worked well, so we swapped the towns to match.
I then dropped the blocks when there was a dot and allowed the numbered circle to carry both the reference and the location of the site. Much tidier.
The Water’s Edge
As a style, we had been avoiding placing solid coastlines on maps for a while, to soften the maps. The water colour is usually designed to contrast enough to depict the oceans.
In this book, I wanted to bring the coastline back, but also add a graduated echo of the coast, with gaps to depict water movement. This was solely for tidal coastal areas, meaning the lochs remained simply depicted.
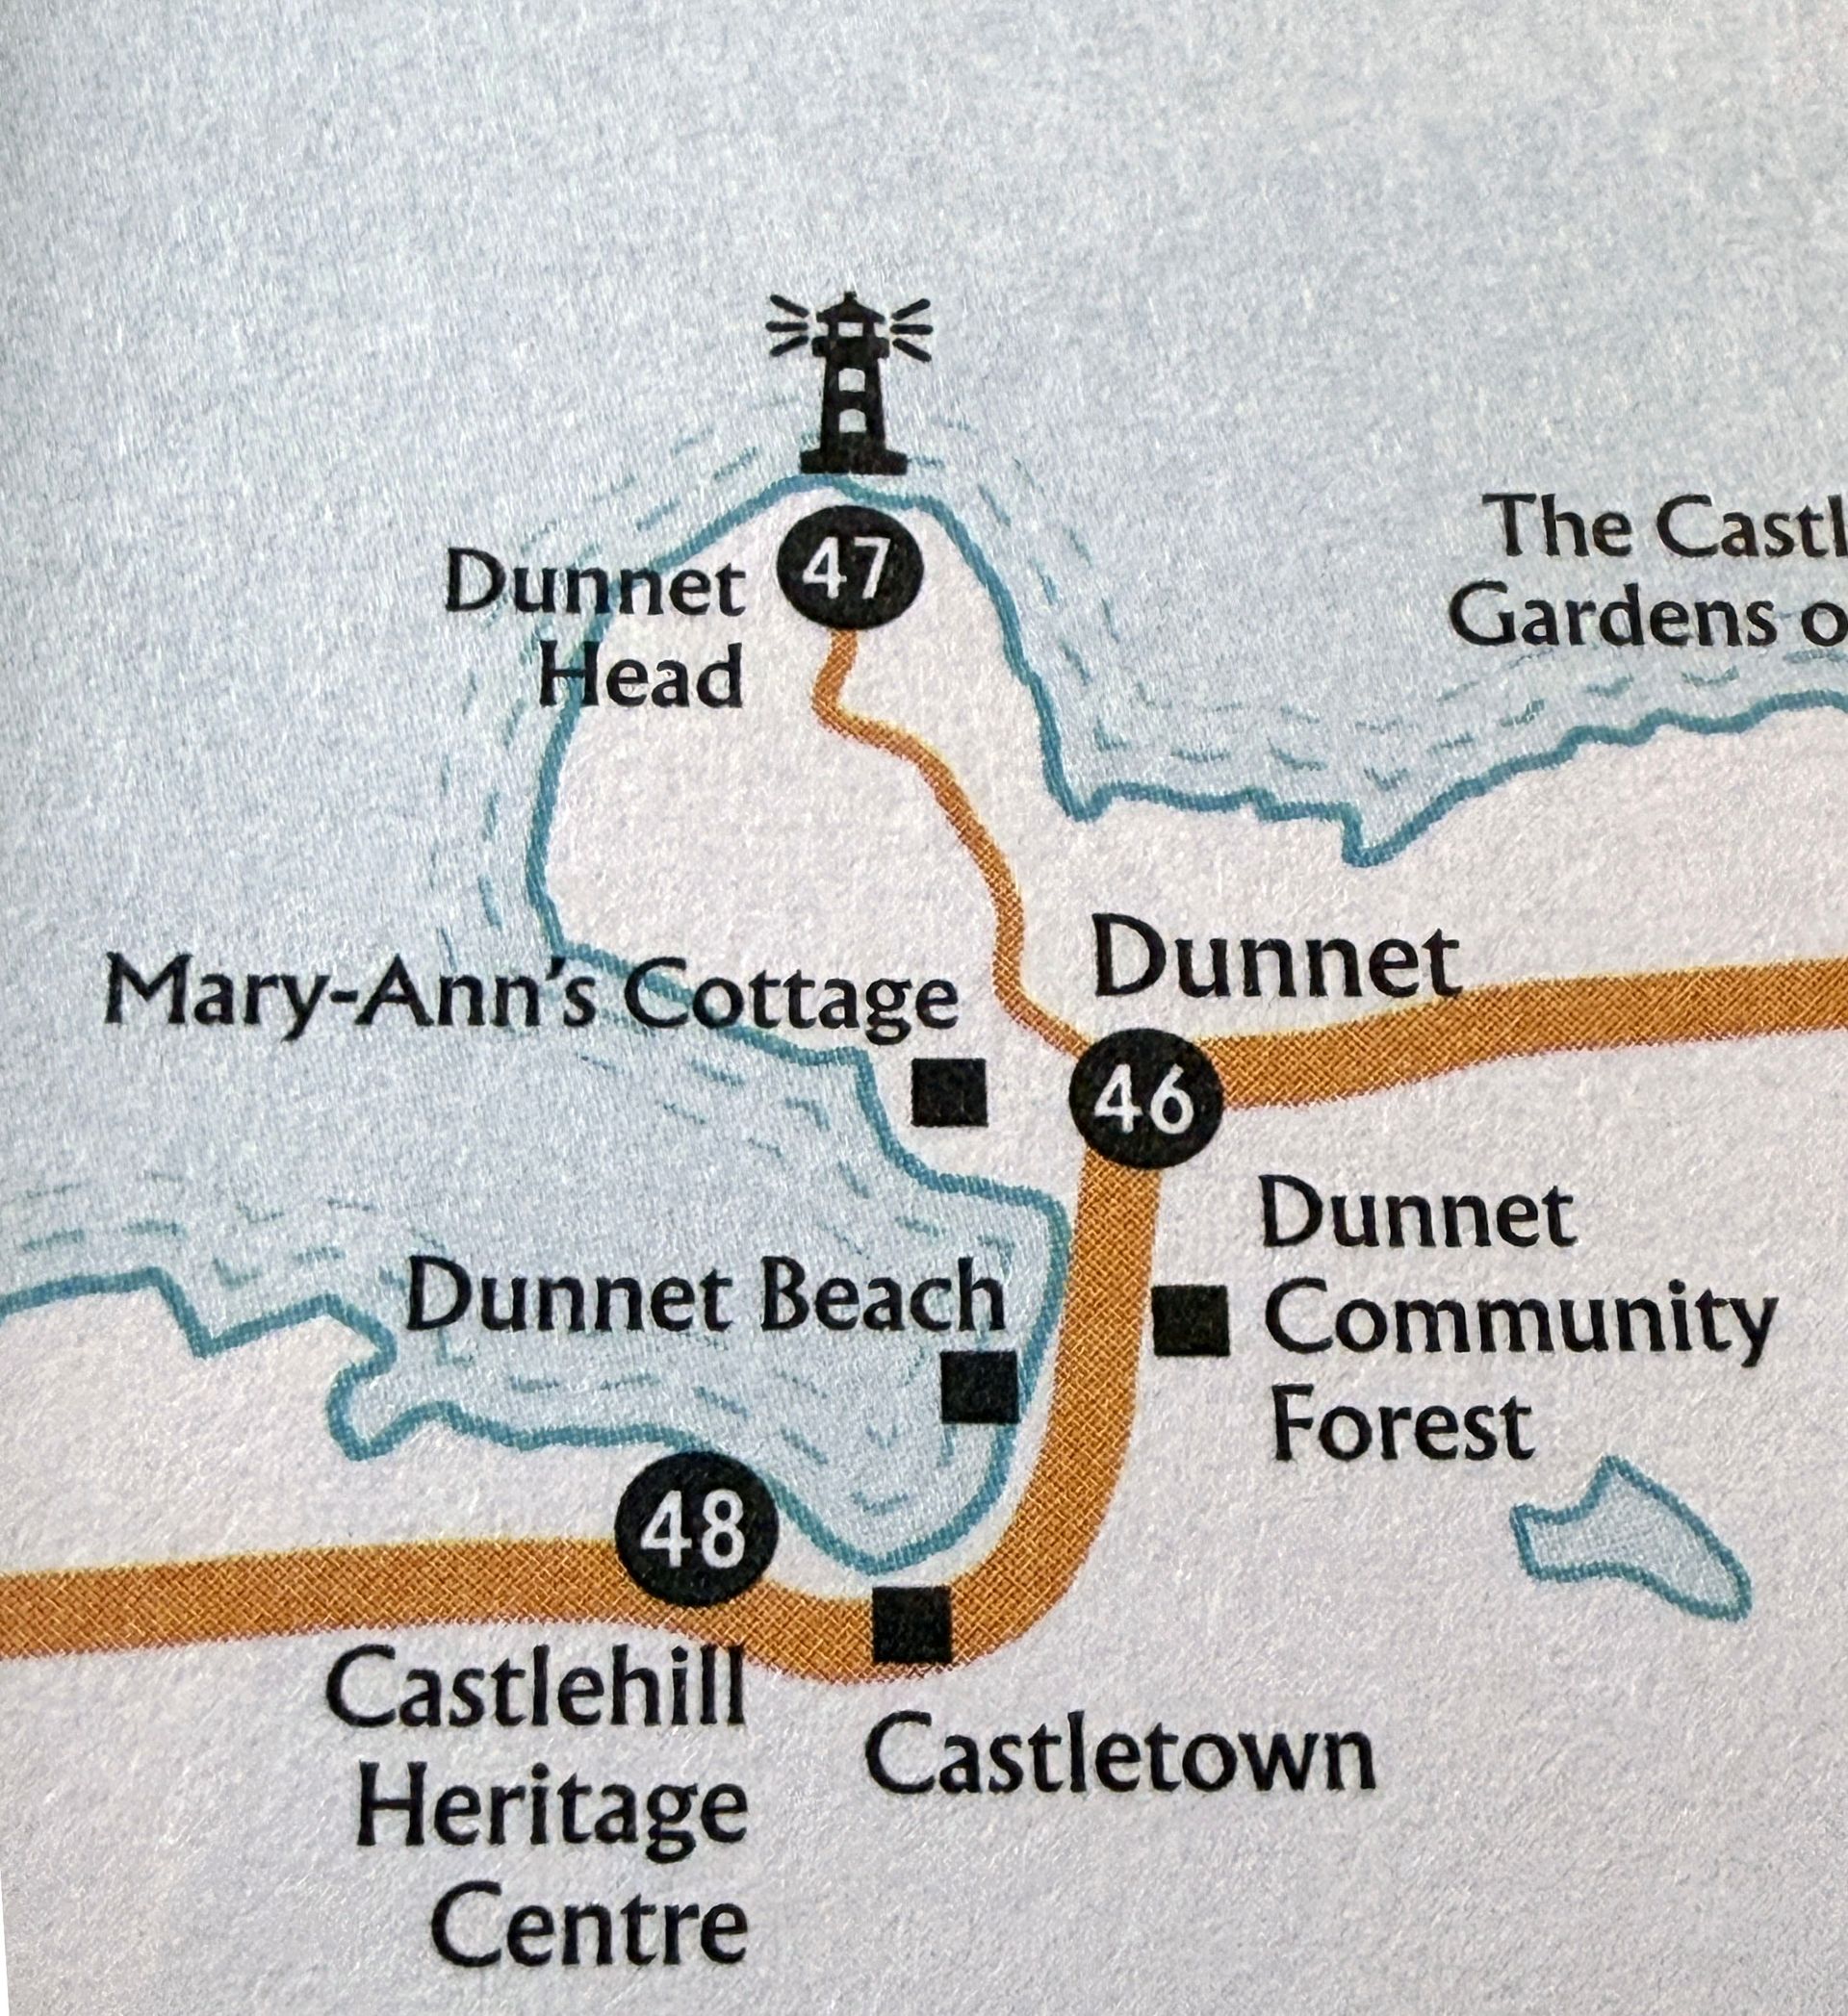
Above: Detail of coast from printed book, note the print adding texture to the red line
Inverness in a box
The start of the NC500 features a number of sights nestled within the heart of Inverness. Initially, we investigated having a separate city map sitting amidst the photographic images rather than breaking the route maps. I decided this would have felt at odds with the rest of the book.
As the edit of the book’s text progressed, the route changes allowed a small inset map showing the centre of Inverness to be placed in the bottom left of the first full-page map.
I chose not to frame this, as it would have been too overpowering on the page. Instead, I added a small percentage of black to the inset map’s background tint to represent an urban area.
The abruptly cut streets, rivers and parks create a naturally implied frame.
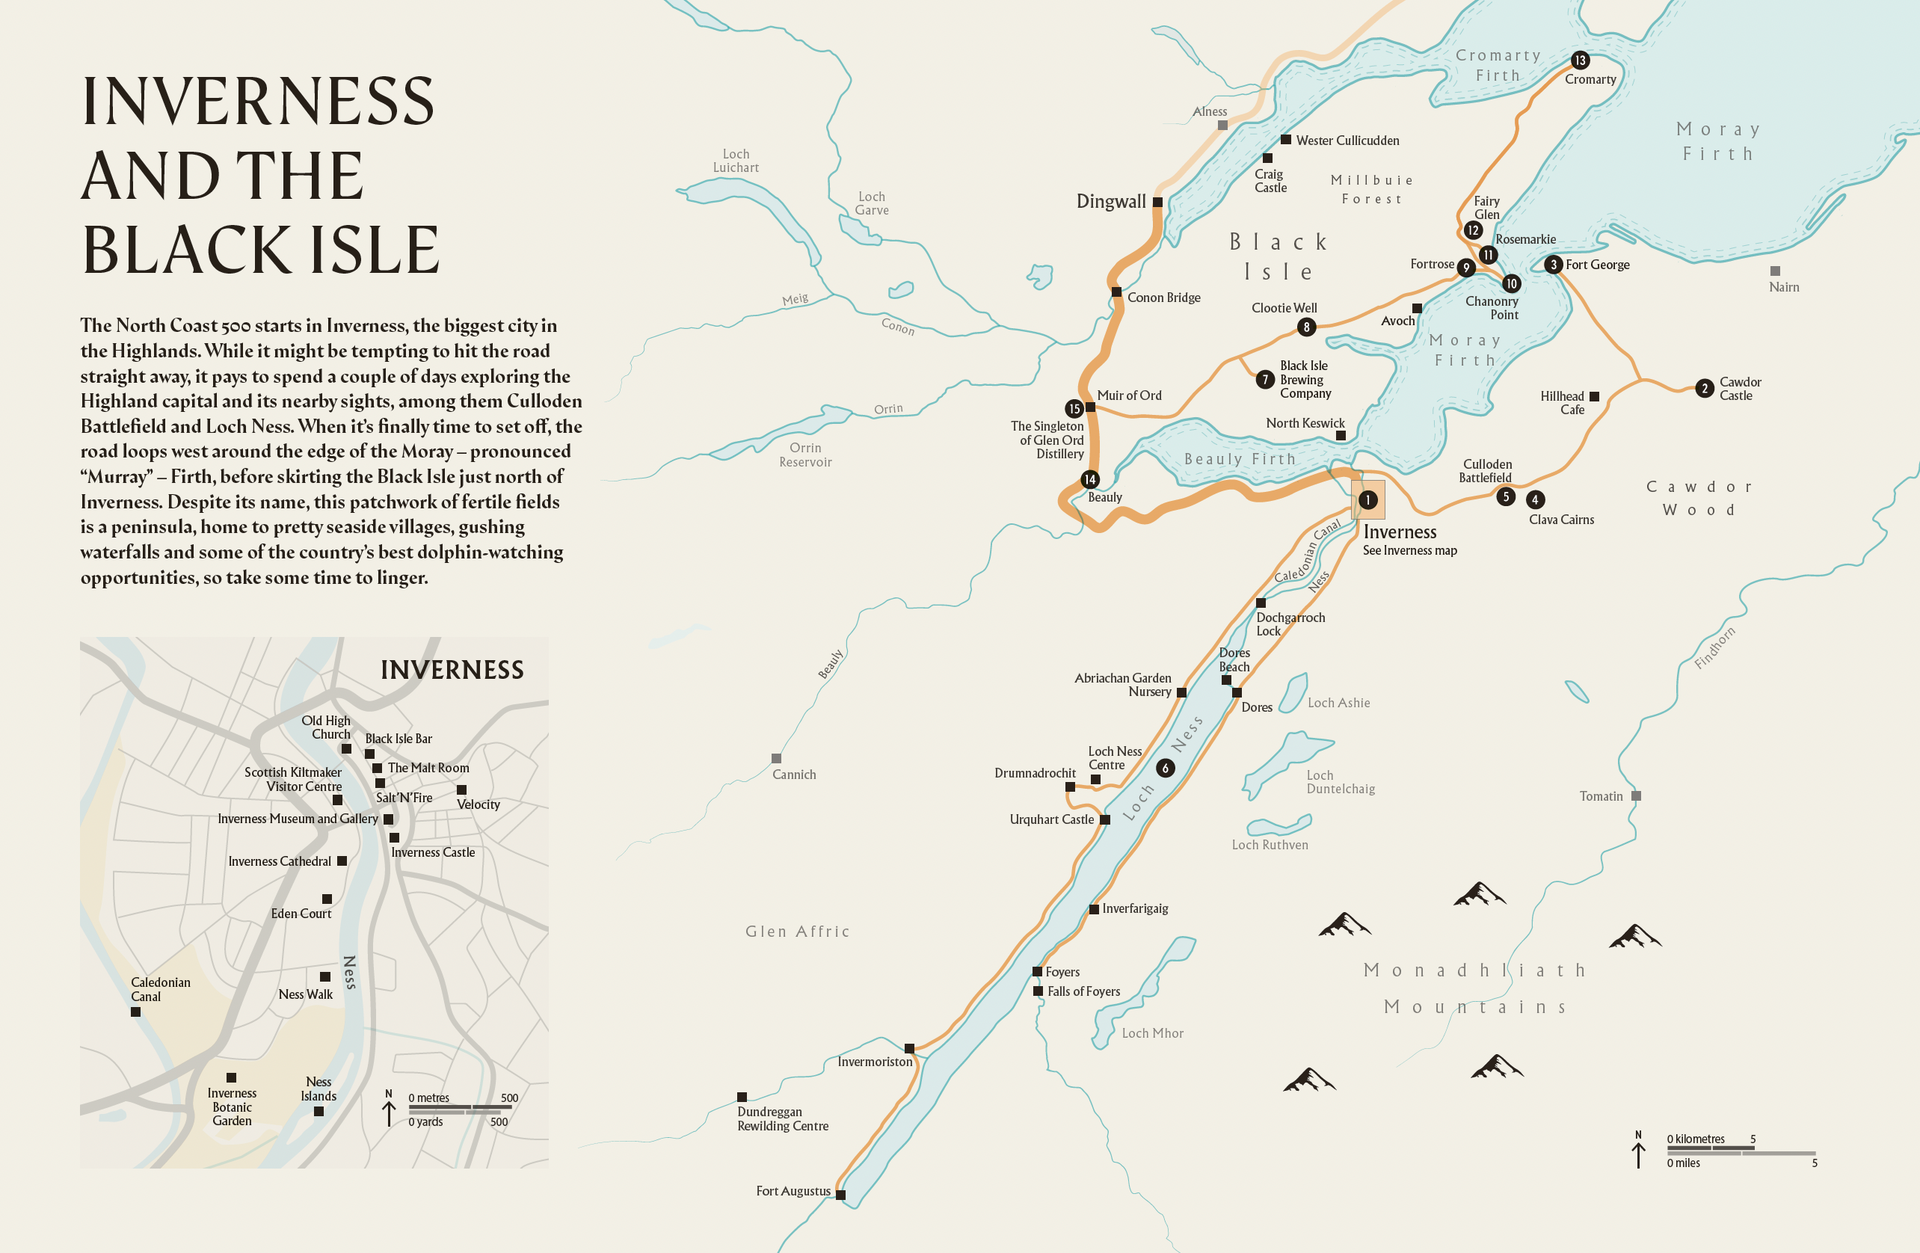
Above: Initial first map spread showing placement of the Inverness inset map
Overviews and locators
To introduce the route, we like to include a full-spread map. This was no different, and once we were happy with the route map style, it was simple to bring it across to this overview map.
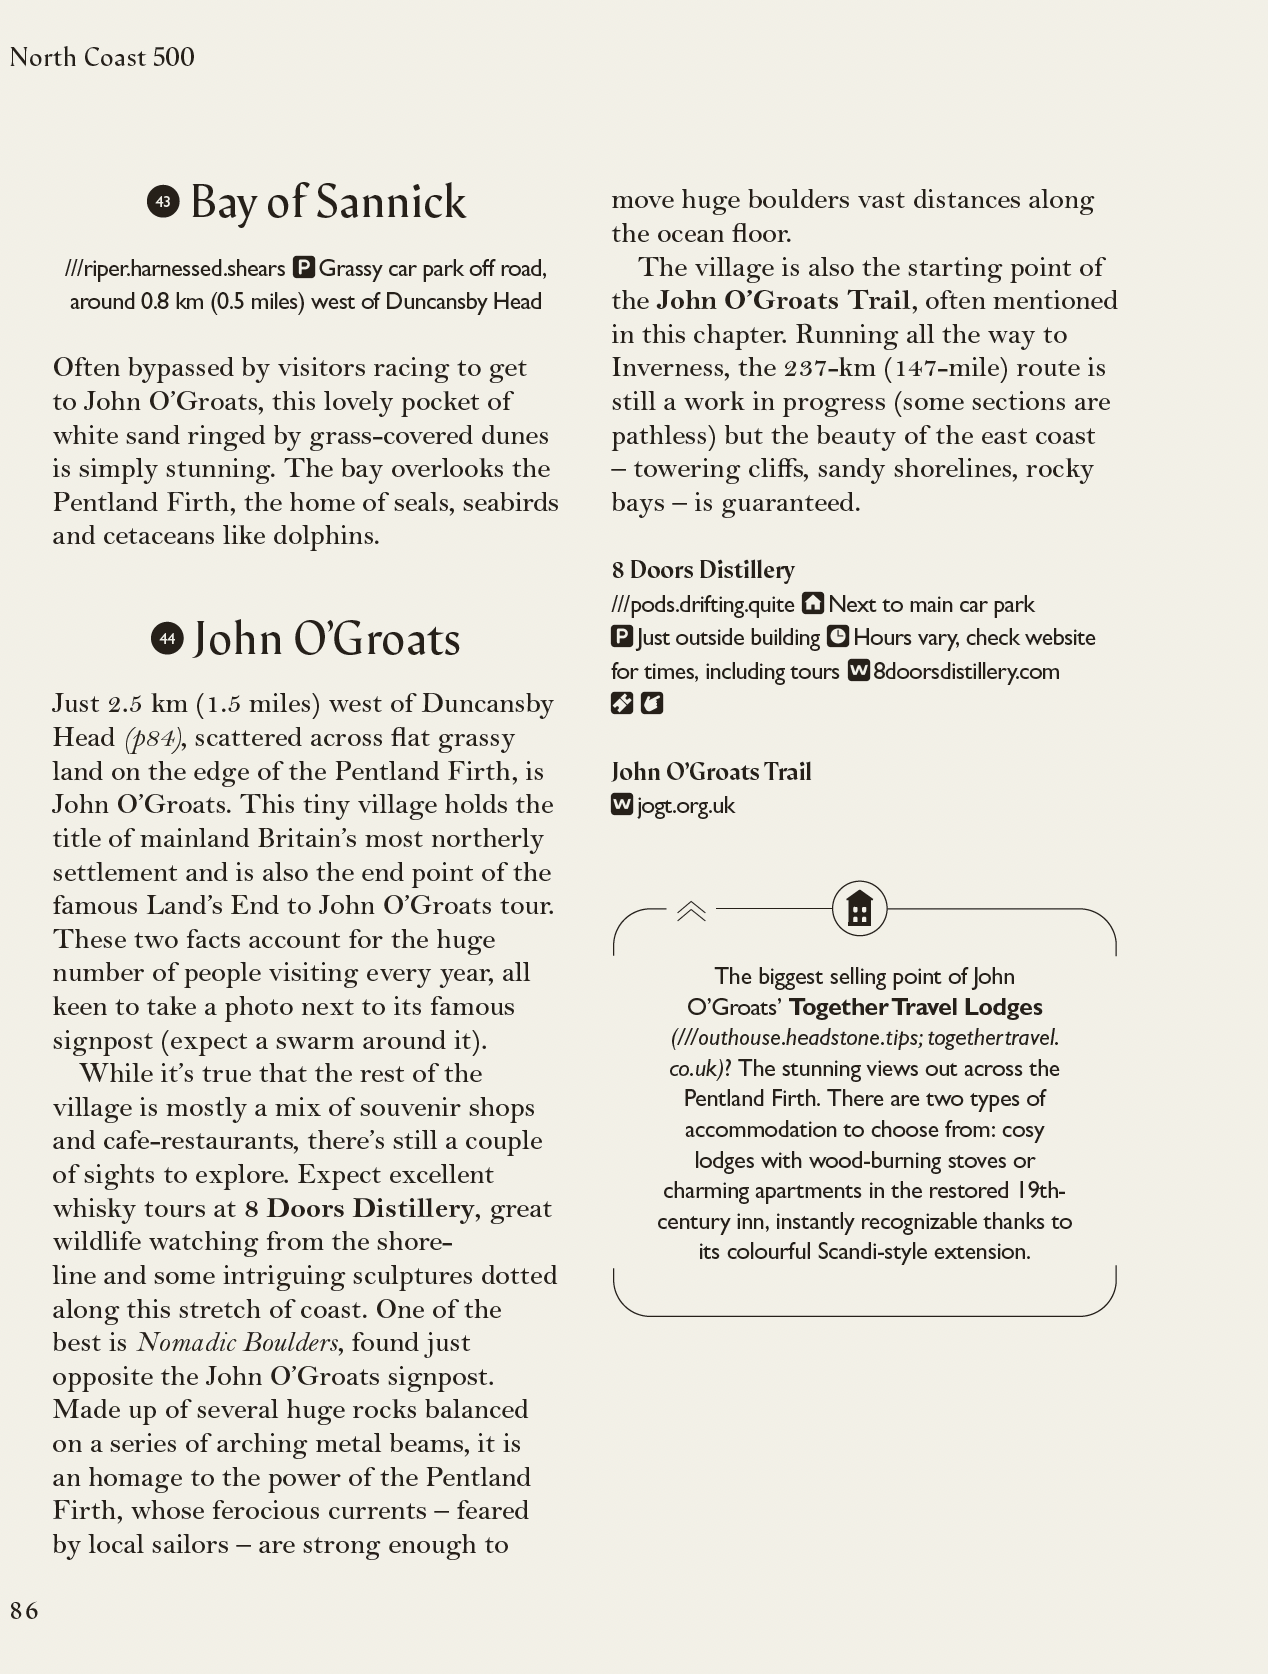
The route line was split to display the sections of the route, and a reference box was placed next to the route to link to the starting page of each section. These boxes were styled by the design team to mirror the information boxes on the main pages of the book.
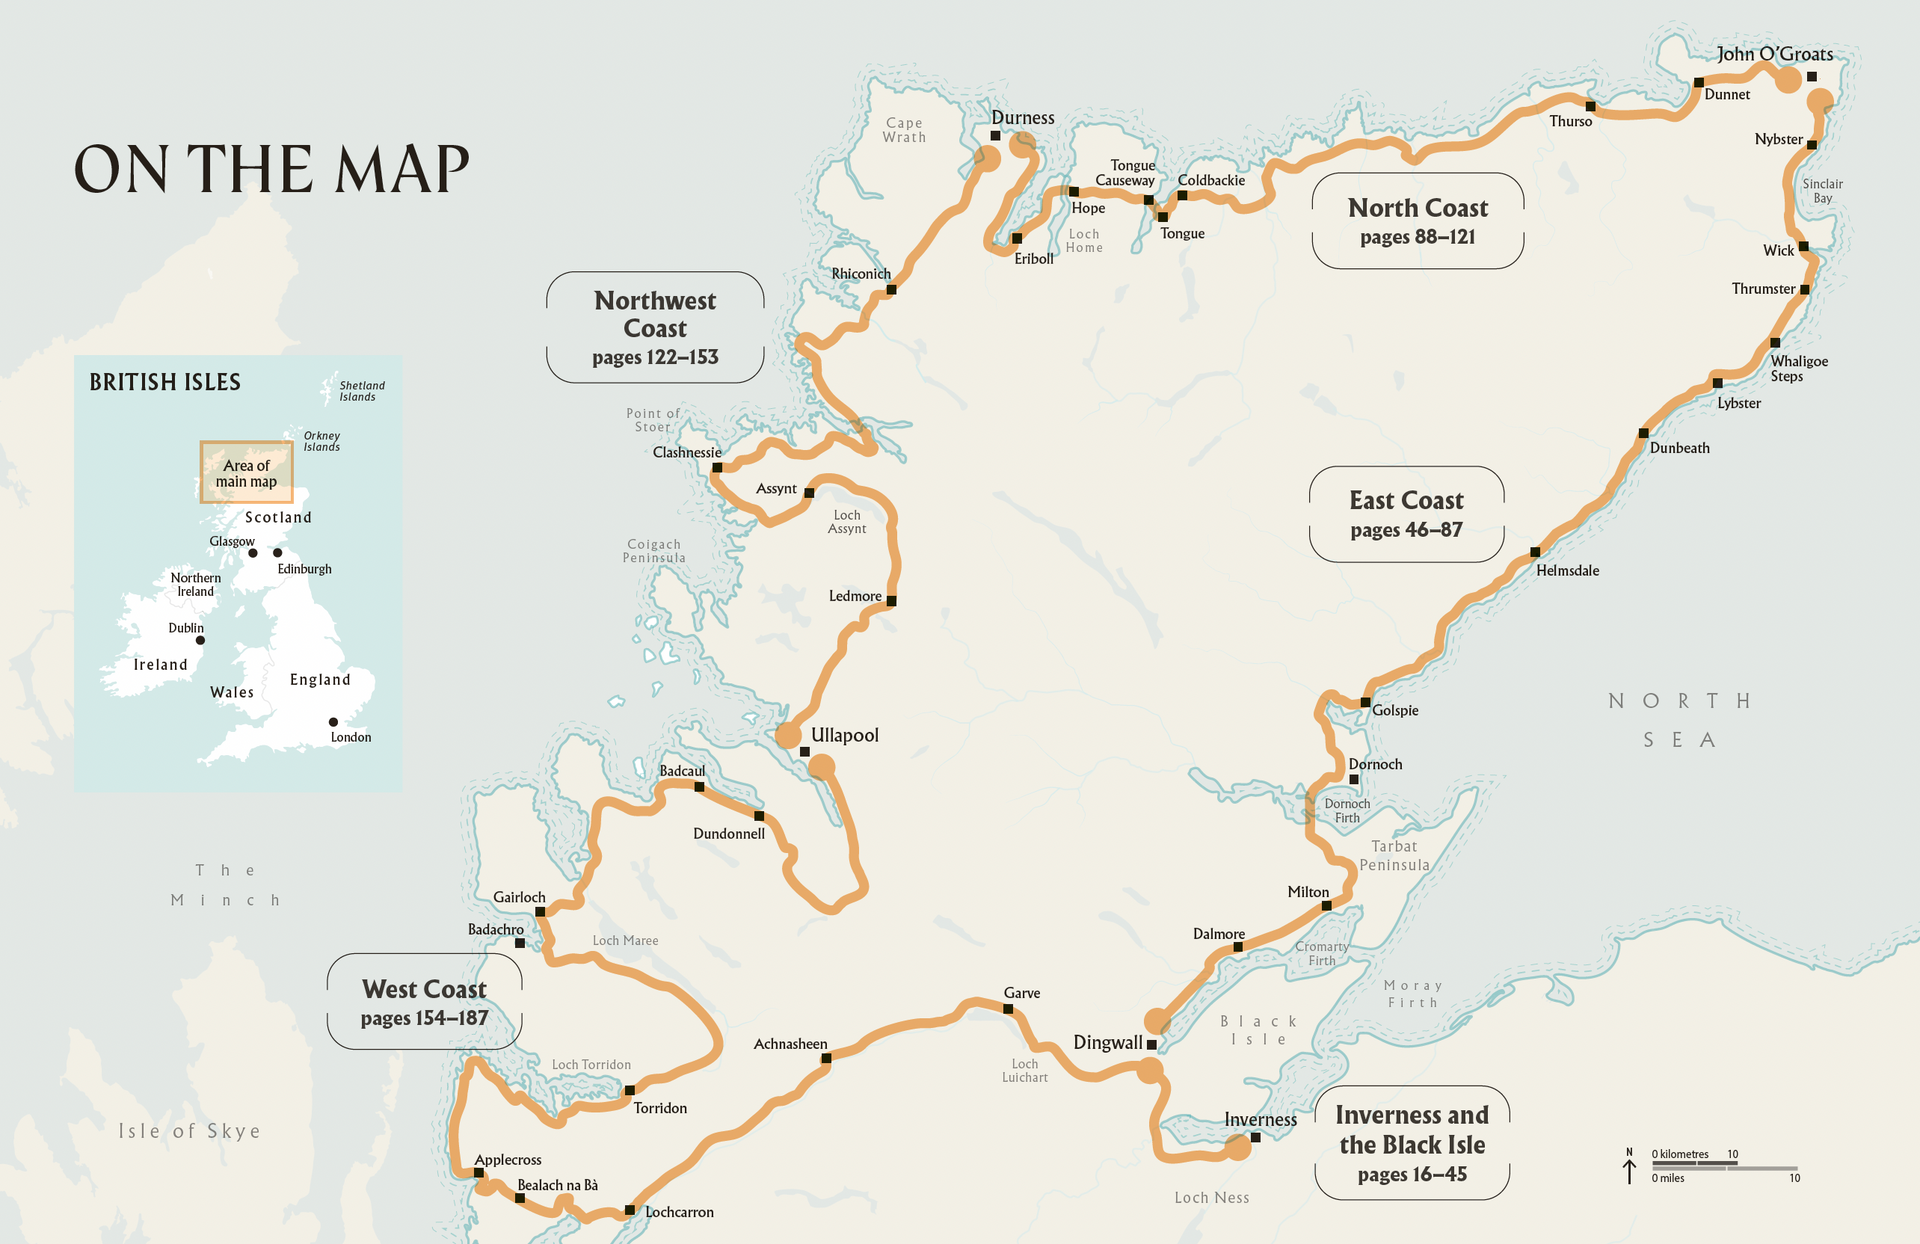
Above: overview map showing the boxed reference panels to mimic those found on internal text pages - see below
Credit
This was a lovely book to work on covering an area I'd mapped many times but from a new perspective.
Des0pite being beset by some truly abysmal weather during the commision, photographer
Daniel Alford
managed to produce some wonderful images which capture the spirit of the rocks, sea and air.
The author (and initial project champion)
Rachel Laidler
wrote the journey with great beauty and care, her love of the region is clear on every page.
Senior designer
Laura O’Brein and the Managing Art Editor
Gemma Doyle were a great team to help pull the pages together into something beautiful.
Data:
Openstreetmap
opentopography.org
Tools:
Adobe Illustrator
Adobe Photoshop
Qgis